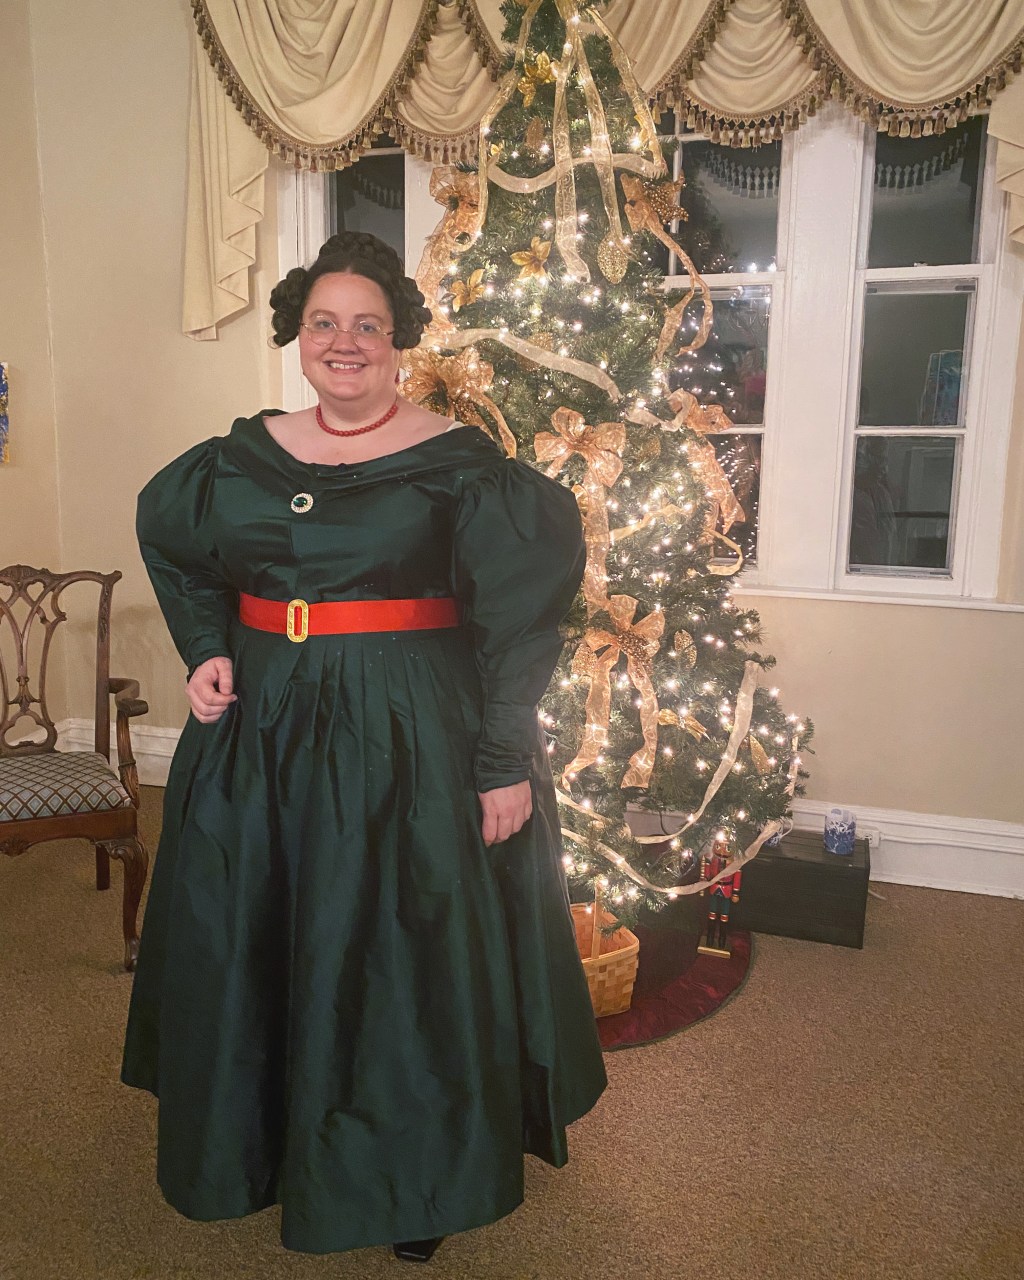
I really fell in love with the green 1830 extant silk gown pictured in the link below recently (housed at the Fashion Institute of Technology museum in NYC), and decided I want to make a gown inspired by it – not directly copied, but similar.
https://www.fitnyc.edu/museum/exhibitions/statement-sleeves/index.php
Patterns used: Truly Victorian 455, Past Patterns “Full High Gown”
Materials used: Silk shantung, lightweight cotton broadcloth, silk thread, cotton thread, narrow twill tape, hooks and eyes, narrow cotton cord (for piping), yarn (for cording), bias tape (for boning channels), german plastic boning, spiral steel boning, cotton organdy.
Modifications made: There are aspects of both of the patterns that I like. I used the Truly Victorian bodice lining pieces for both the lining and fashion fabric layers, and traced the “v” shape of the neckline to be a bit lower in the front (in hindsight, I could have carved away at the neckline and shoulders more). I also had to take the shoulders in a bit, a common adjustment for me when I use TV’s patterns. I realized when I was done with construction that I could have taken them even more than I did! I used the cutting line for a straight bodice edge along the bottom front, instead of dipped. I also cut the bottom edge about 1/2″ shorter than the pattern piece, since I am adding a waistband (and TV’s bodices run on the long side). I probably should have made it a full 1″ shorter, TV’s bodices do run LONG (and I have a long torso and typically need to add an inch to most bodice patterns).
I decided to use the sleeve pattern shape from Past Patterns. The gigot sleeve shape is similar to TV’s, but is a bit shorter at the top, and has a wider flare at the elbow. I just like how it looks when finished!
The extant gown inspiring the project looks to have a very gathered shoulder/bust line, but I decided to mimic this effect with a length of bias cut silk that I would gather, drape, and attach separately to the main bodice pieces. I used a bit of leftover cotton cording from my last corded petticoat for some of the piping, and shifted over to some sugar and cream yarn for the rest of the cording (the yarn actually works better for areas where the piping needs to making multiple sharp turns, like the cuff edges – it’s less stiff than the cotton cording).
I did not print or use any skirt pattern pieces (though they are provided in the TV pattern, it’s just a waste of paper), and just cut 3 equally long panels of silk to use for the skirt. I cut a 2.5″ wide x length of my waist + 2 inches piece of on-grain silk for my waistband. I was pretty close to making cartridge pleats for the skirt, but I opted for easy knife pleats instead. I also debated making a hem facing for the skirt, as this was common in the 1830’s and you can see the extant garment I used for inspiration has a very high faced hem. But… I was out of sewing steam and decided just to make the hem a couple inches deep instead. The silk I used has a pretty crisp/stiff hand, so it “puffs” out nicely anyway with the help of the corded and organdy petticoats. If using a lighter, more “drapey” material such as satin, voile or lutestring, I would definitely recommend a hem facing.
I opted to create light gathers on the bodice instead of sewing darts. Also of note – I stitched about a 10″ length of ribbon on the center top and center bottom of the inside of each armscye, to be able to tie in my big fluffy sleeve supports. I should probably take a picture of how I position the ties on the sleeve supports too, maybe on a future post.
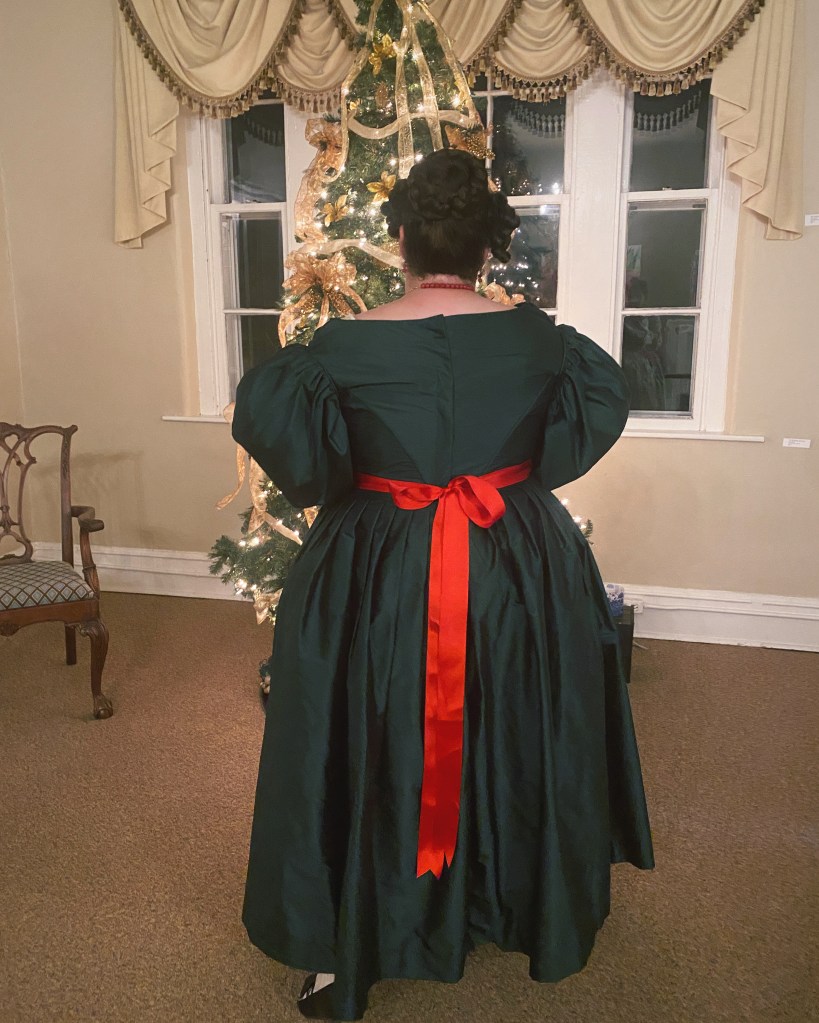
I used skirt/pant heavy duty hooks/bars along the back closure. TV provides instructions on how far from the edges to place the hooks and bars (and also how much to turn in each back edge – it’s different for the right side than the left!) to make a nice and even overlap in the back.
I used bias tape to create boning channels on the curved back seam edges, and used flexible spiral steel boning to fit nicely in those curved channels. On the more straight side seam channels, I just used the existing seam allowance to create a casing for synthetic whalebone pieces.
ACCESSORIES:
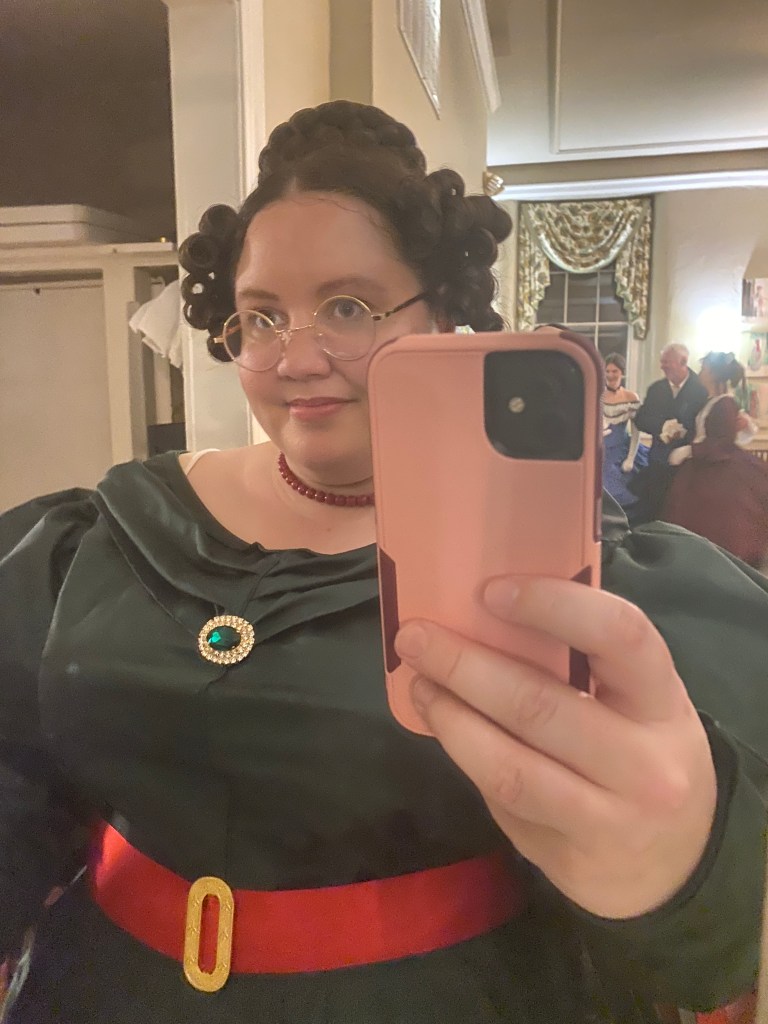
My hair is styled with some incredible pieces from the talented Jenny la Fleur. Faux hairpieces were used all the time to create elaborate hairstyles in the past, and I honestly could not style these looks on myself without them!
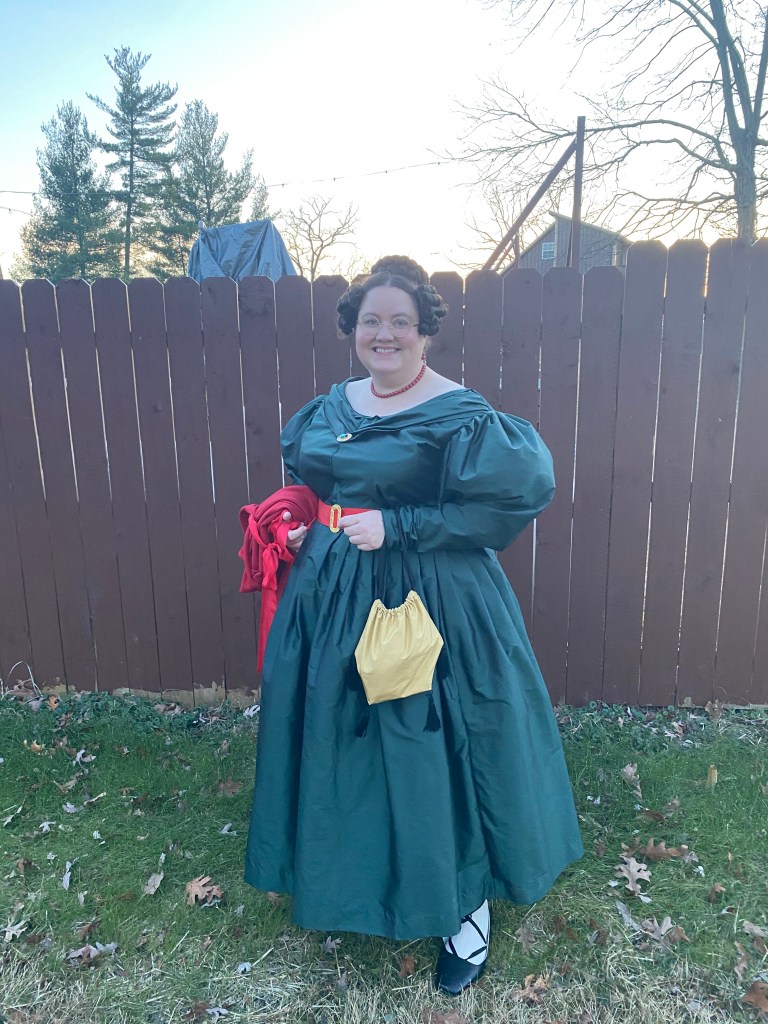
My jewelry included a beautiful coral red necklace and earrings, as well as a sparkly crystal brooch from Dames a la Mode. My lovely gold belt buckle is from Ensembles of the Past, which I paired with a length of bright red grosgrain ribbon that I grabbed at the craft store.
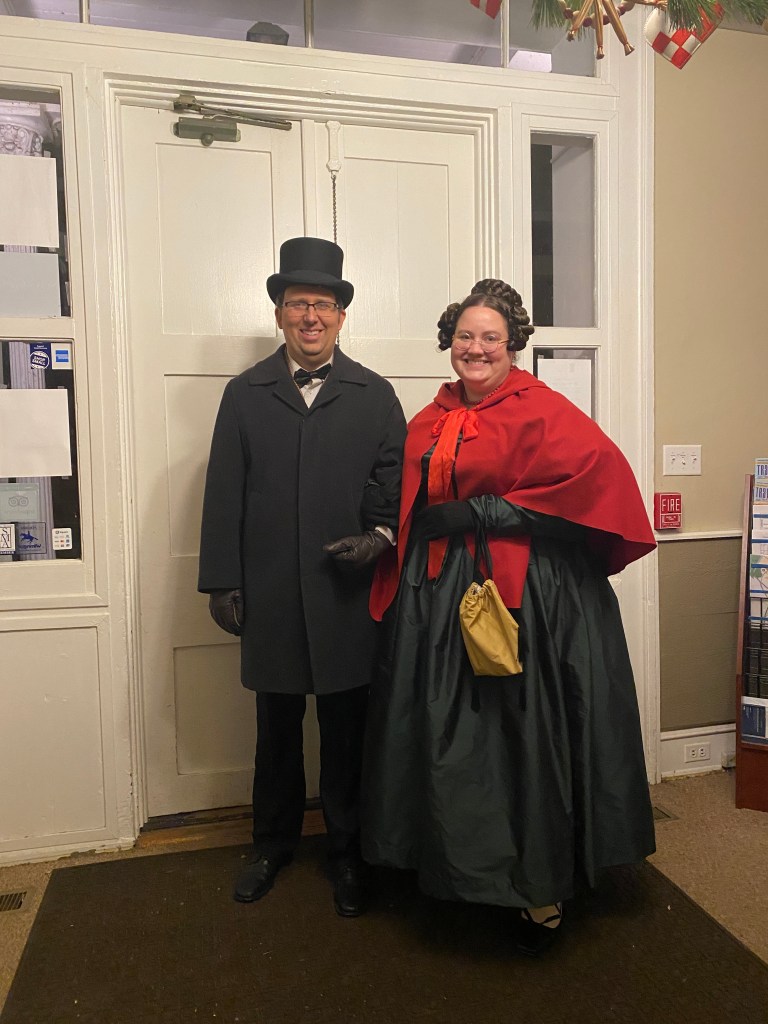
I wore some cream silk ribbed stockings from Burnley and Trowbridge, and my fantastic Bronte slippers from American Duchess.
The silk reticule was a quick make of mine from last year, and my red wool mantle is based off of Scroop’s Charlotte mantle pattern. The black faux-suede gloves were an Amazon find.
I was originally going to debut this dress for an autumn look, but it worked out to debut at the Fezziwig’s Ball event in historic New Castle. Overall, this might be my favorite gown I’ve made thus far! I loved how the bright red of my jewelry and belt really tied it together for a wintry, Christmas-y look.

Leave a comment